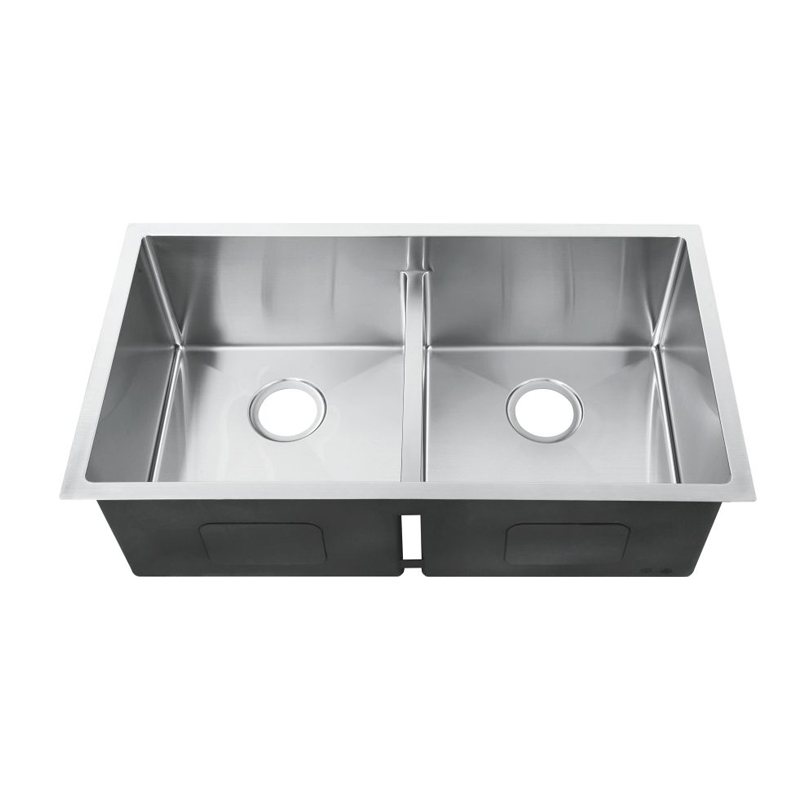
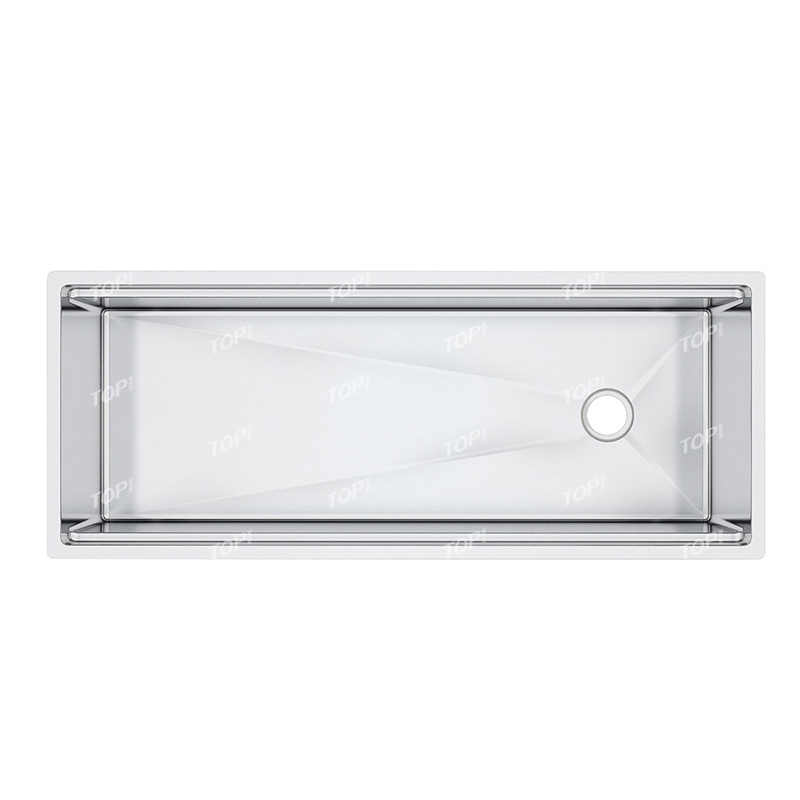
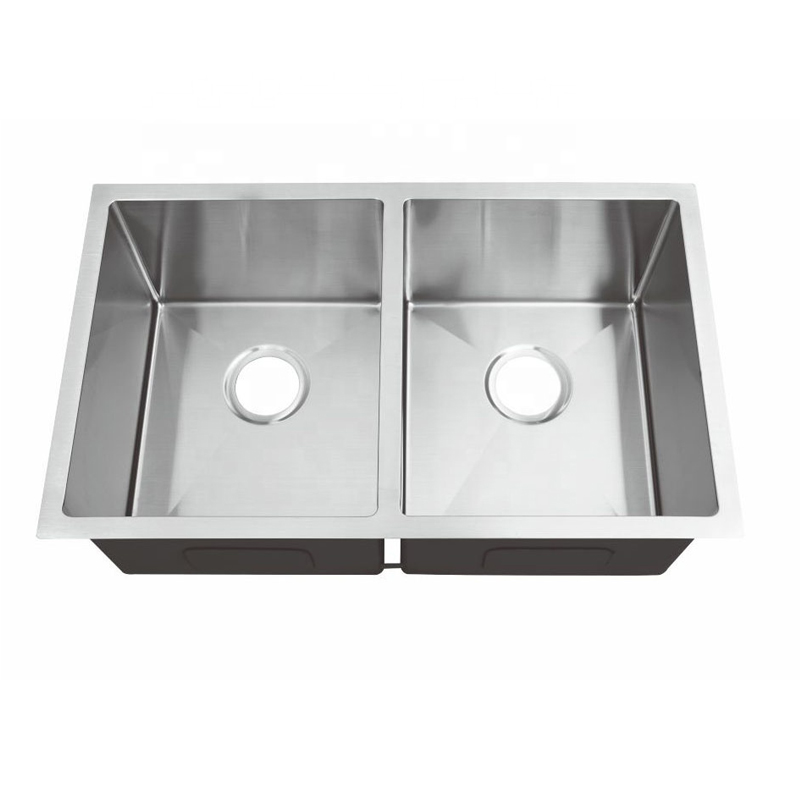
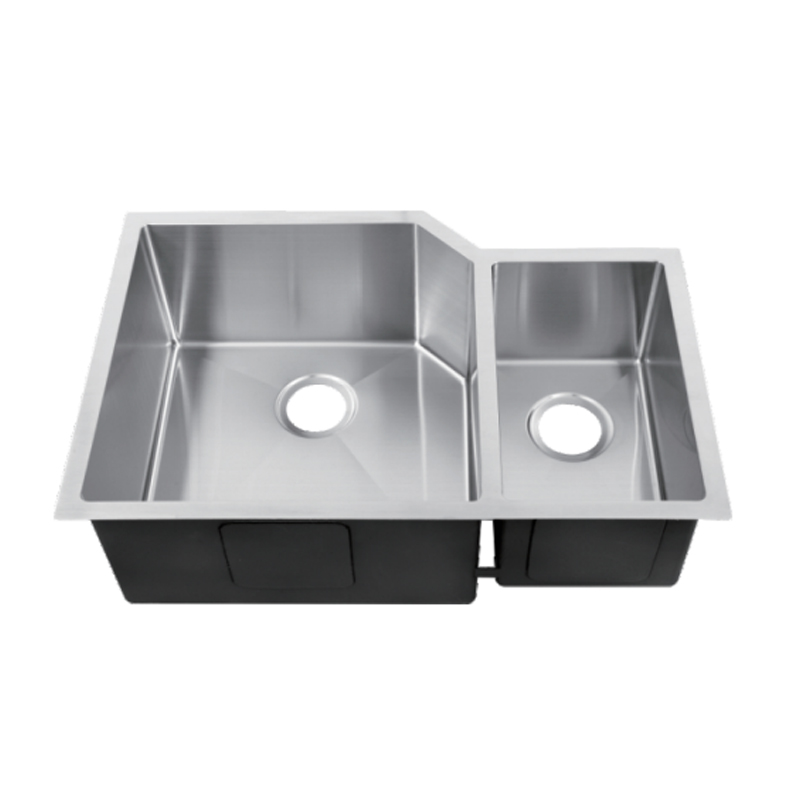
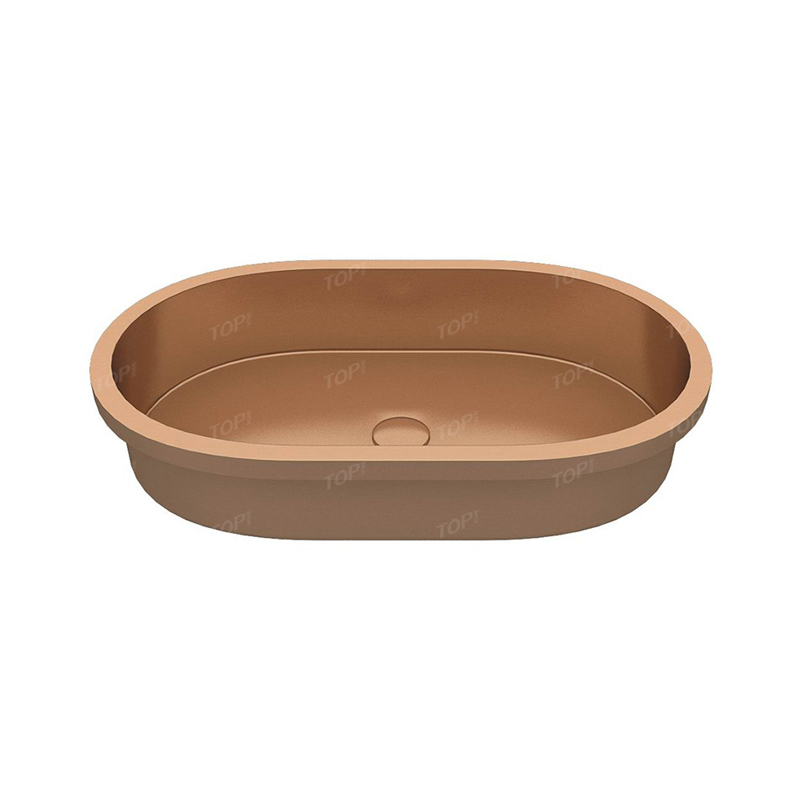
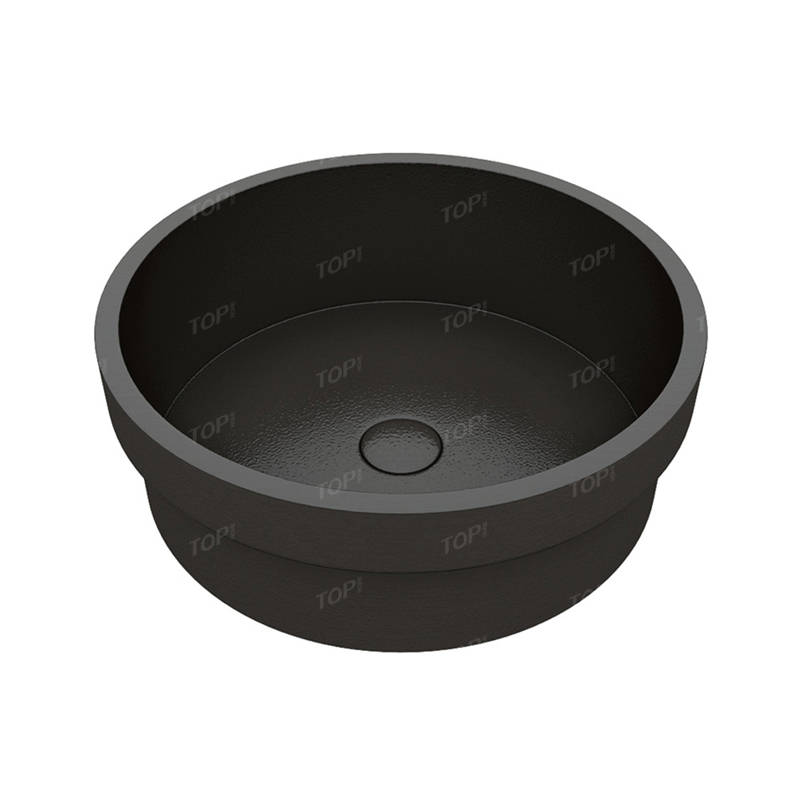
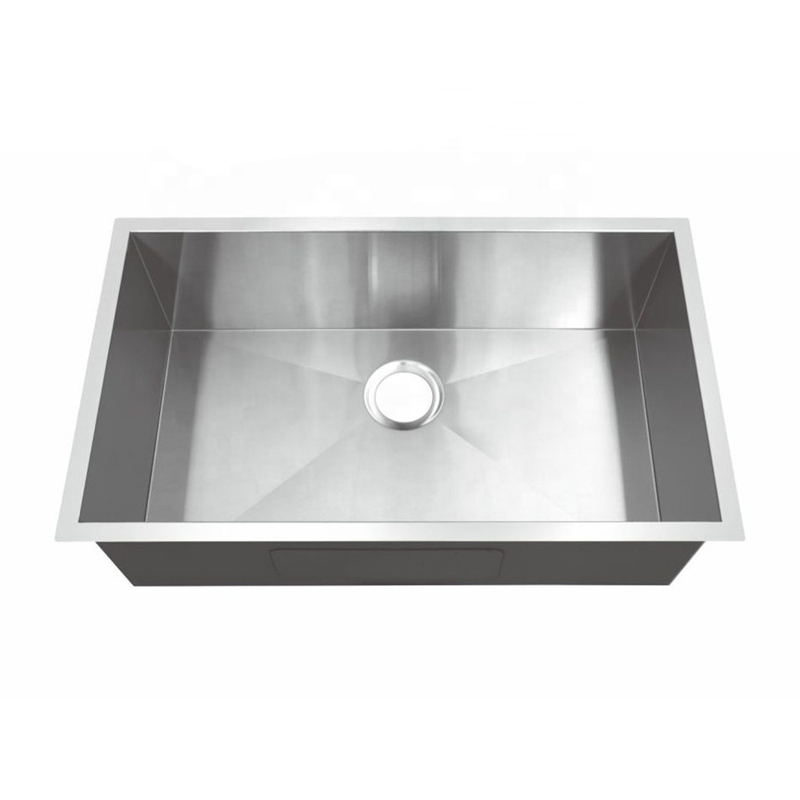
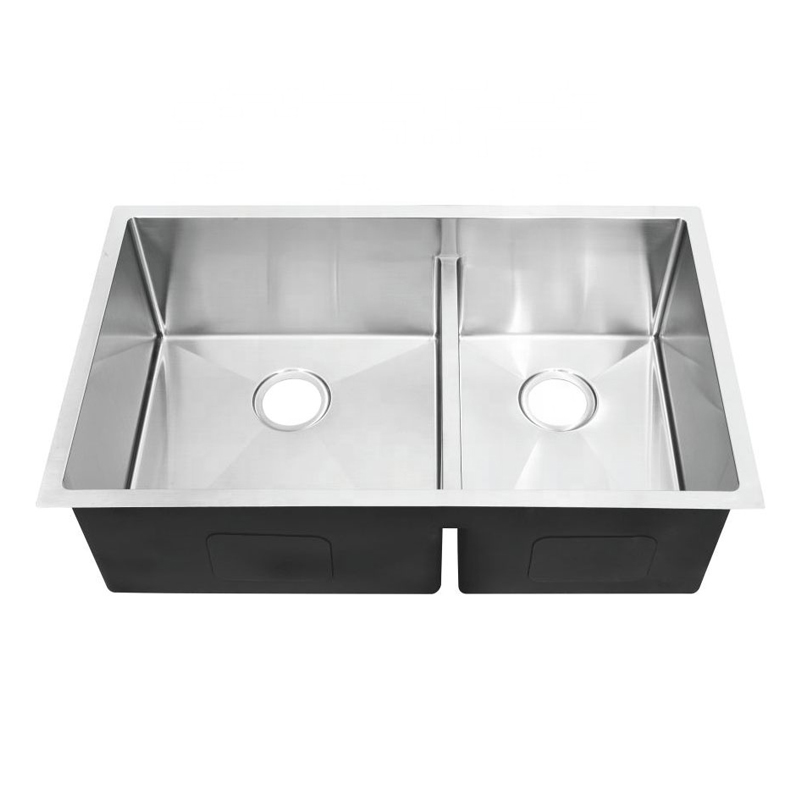
The Ways to Install the Under mount Sinks
Under mount sinks are best installed beneath stone and solid-surface tops. They’re not recommended for installation under plastic laminate, ceramic tile or wood tops.
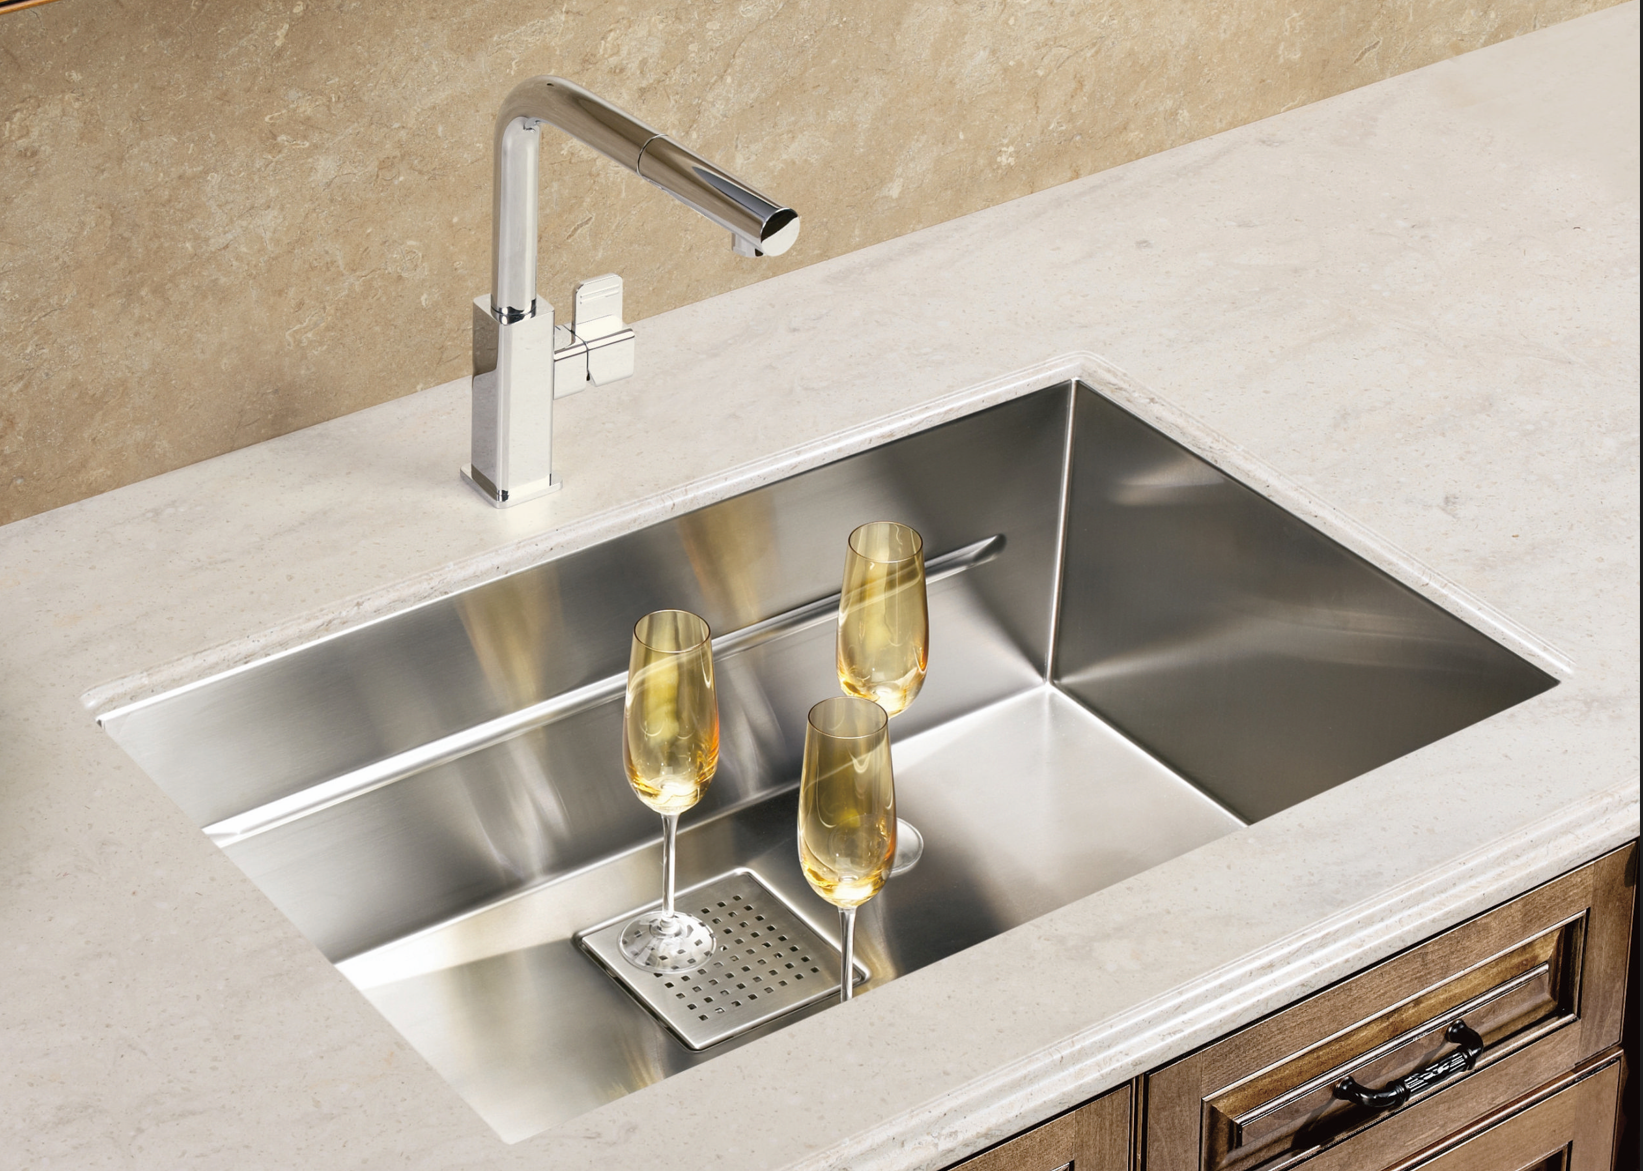
Before you mount a sink, you’ve got to have a finished opening cut into the countertop with the right size, shape and position. It’s also best to have holes pre-drilled for the faucet and accessory mounts.
You’ll need to tell your countertop fabricator which reveal style you prefer so he or she can cut the opening to the correct size and shape.
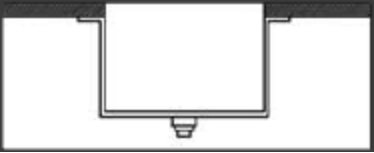
There are three reveal styles of installing the under mount kitchen sink, you can choose the one of them:
1. Positive reveal – part of the sink rim is exposed.
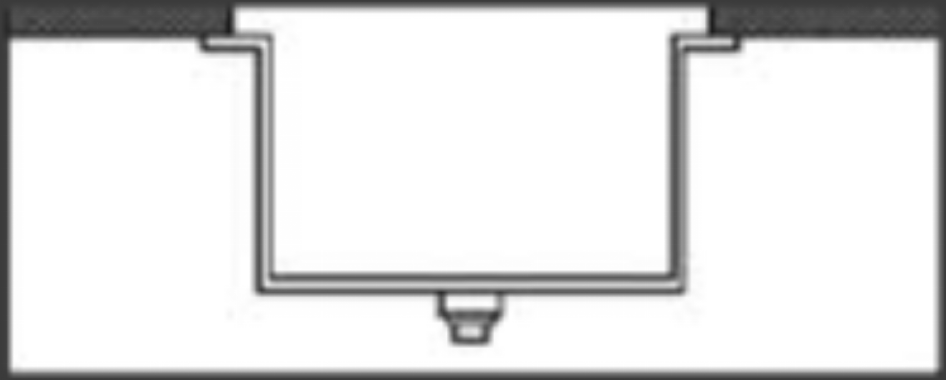
2. Negative reveal – countertop extends past sink walls.
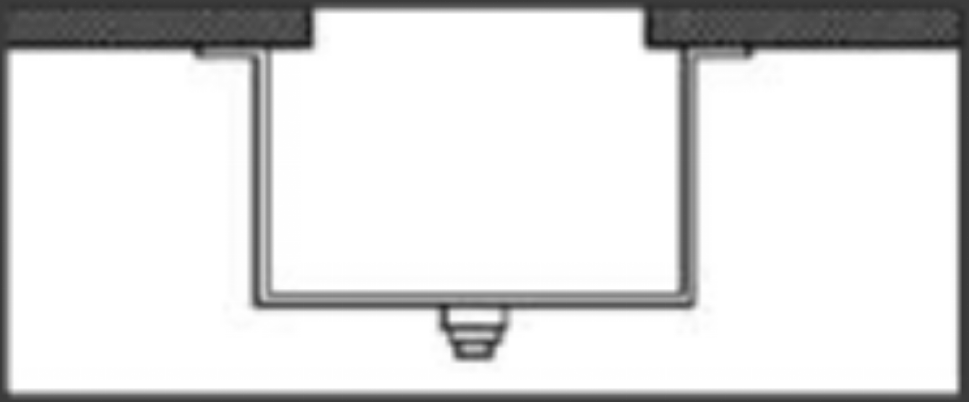
3. Zero reveal – edges of the countertop opening are flush with sink walls.
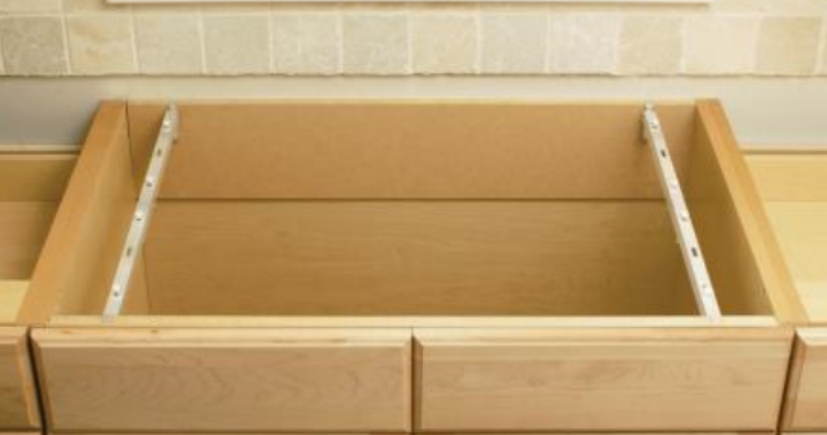
When your countertop arrives, you should set up a workbench to support the counter so that you can work up and down without bending or breaking. Depending on the length and weight of the top, you can escape by setting several 2-bys across sawhorses. A table frame minus a tabletop might also work.
The tools you’ll need to install the sink, including:
a、 One tube of 100% silicone adhesive caulk
b、 Two-part epoxy
c、 Denatured alcohol
d、 Tape
e、 Bar clamps
f、 Sink
g、 Sink-mounting clips with glue-on stud bases
Installing the sink with the underside up is generally faster and easier.The steps of installation are as follows:
1、 Wipe the inside edge of the cutout and the area around it on the underside of the counter with a rag and denatured alcohol. Be sure the surfaces are dust free.
2、 Apply masking tape to the inside edges of the cutout.
3、 Set the sink over cutout, and trace around the rim to outline the area where silicone adhesive will be applied. Then set the sink aside.
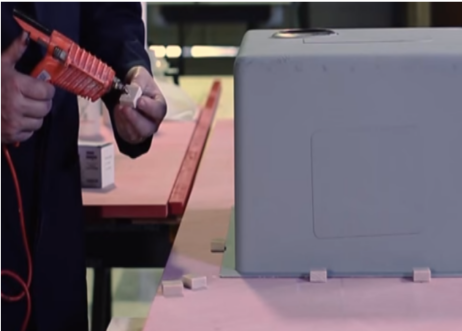
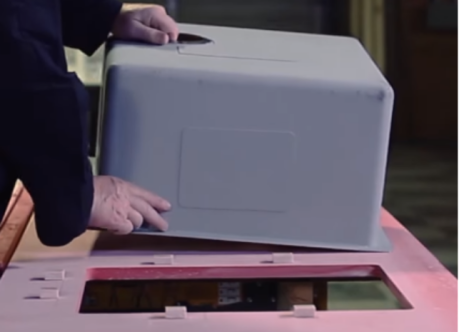
4、 Lay out the positions of the sink clips just outside the line you’ve drawn around the perimeter of the cutout. Provide at least one clip at each corner of the sink and space others along each side, no more than 10 in. apart.
5、On a cardboard scrap, mix enough two-part epoxy to adhere the sink clip studs. Working quickly with a wooden popsicle stick, spread epoxy on the base of each stud and press it in place hard enough to squeeze the epoxy through the holes of the stud bases. Allow the epoxy to cure for at least 24 hours.
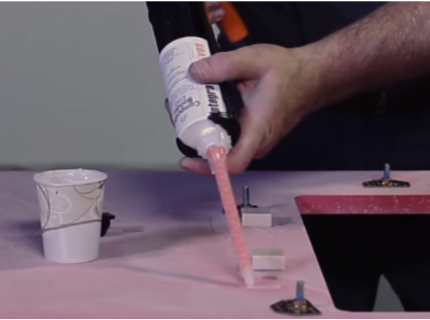
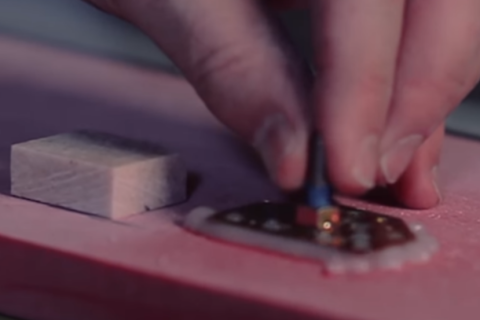
6、 Once the epoxied-on sink clip studs have cured, apply a generous bead of silicone around the edges of the sink cutout within the line that’s been drawn around the perimeter.
7、 Set the sink in position over the opening and center it. Take a peek under the work stand to see that the sink rim is properly aligned and that the reveal is equal on all sides. Adjust as necessary.
8、 When you’re satisfied, slip the slotted sink-clip brackets onto the studs so that one end bears on the sink rim. Thread the wing nuts onto the studs and tighten them down on the brackets, alternating sides to prevent the sink from shifting in one direction or another. The nuts should be only finger-tight to avoid undue strain on the countertop.
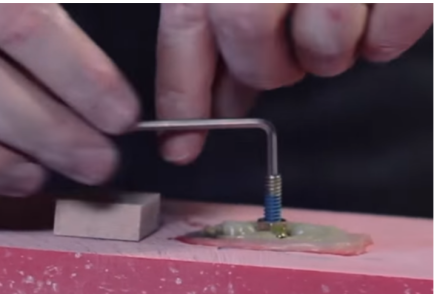
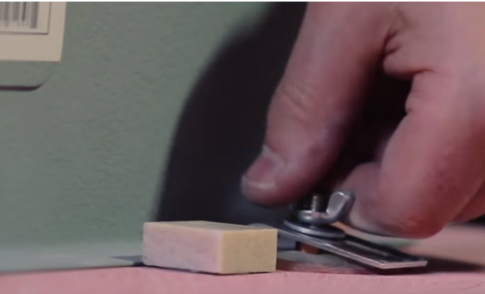
9、 Clean silicone squeeze-out from around the cutout edges with your finger. Remove the masking tape and clean away any silicone that may have leached underneath. Wipe the edges with alcohol.


