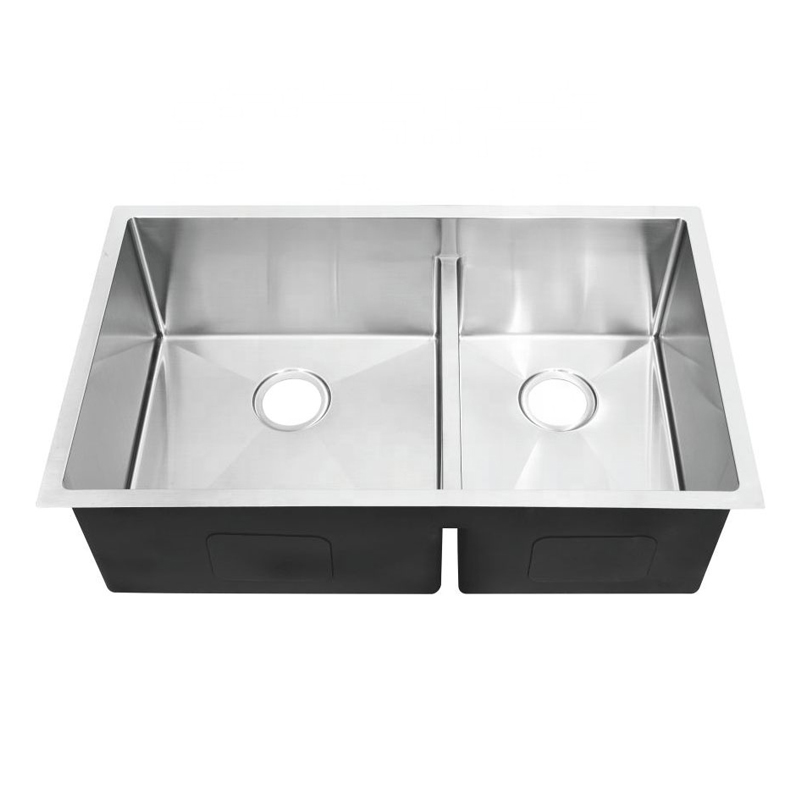
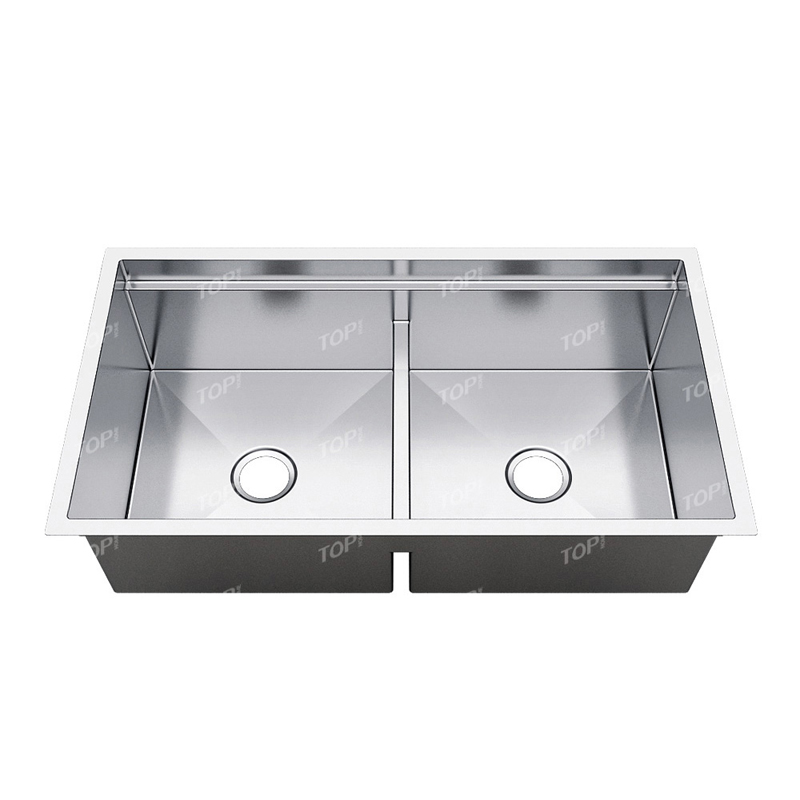
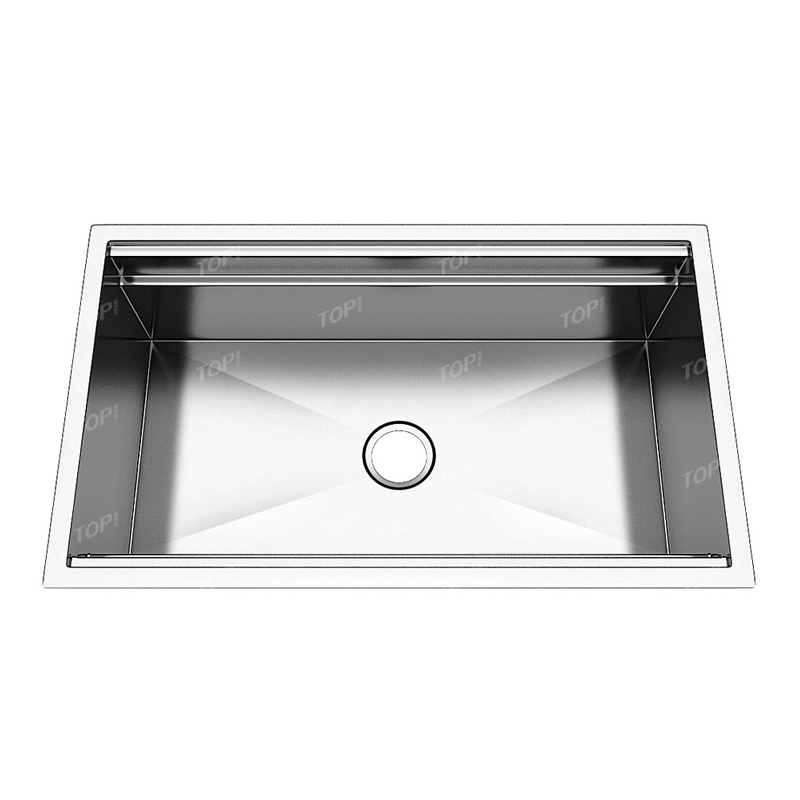
Tophome's Top Mount Sink Installation Instructions
Before we begin, it’s important to gather all the necessary materials and tools. This will ensure a smooth and efficient installation process. Let’s take a look at what you’ll need:
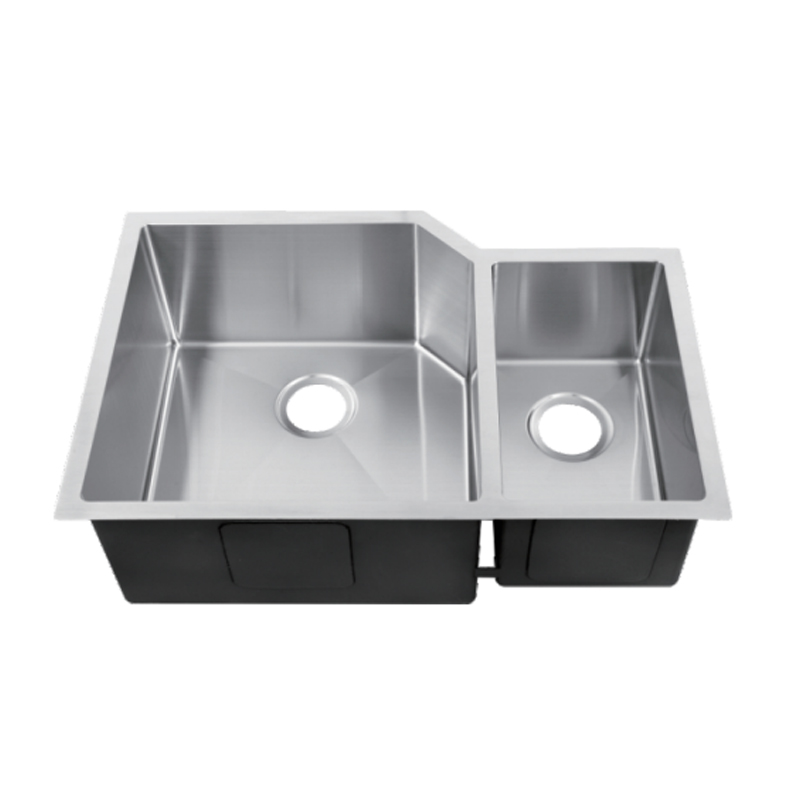
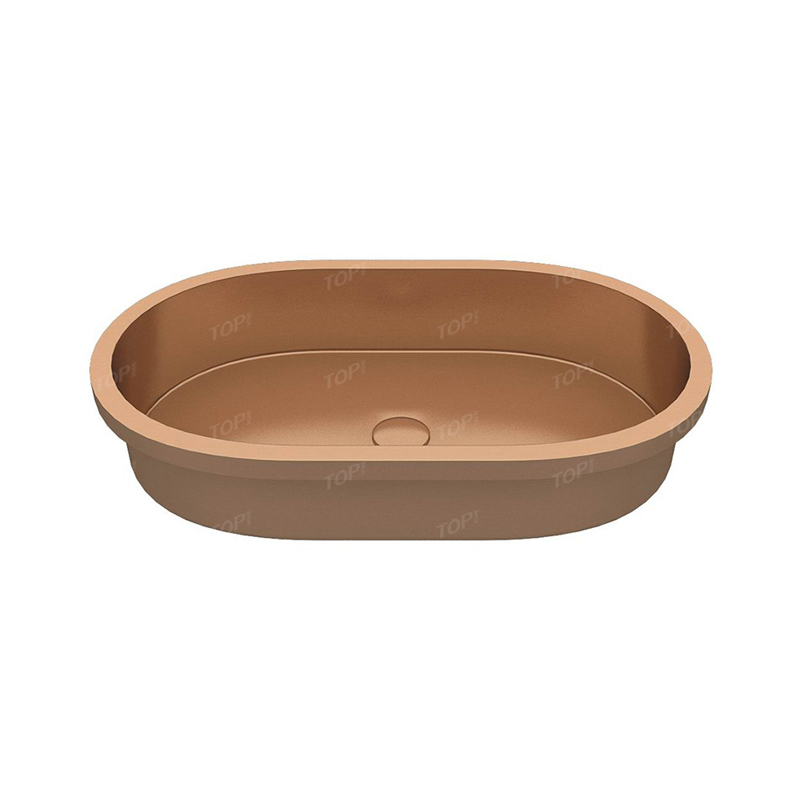
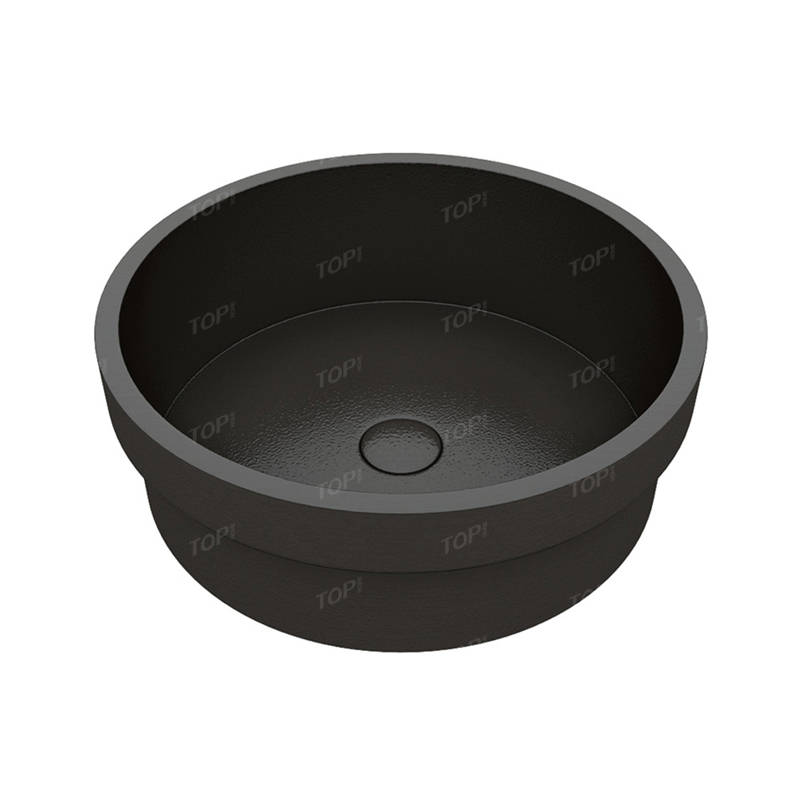
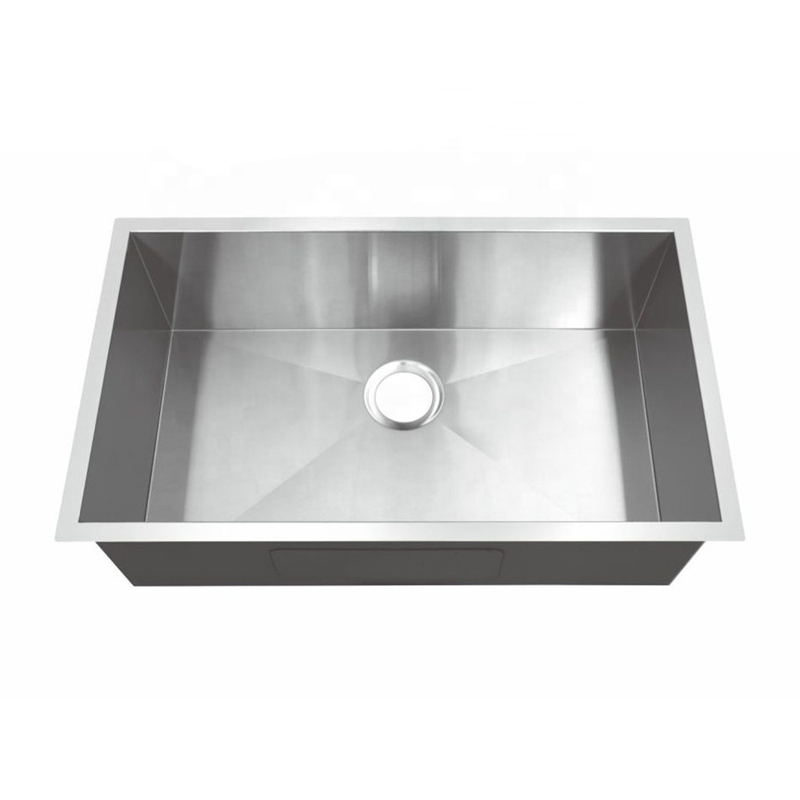
Top mount sink
Granite countertops
Sink mounting clips
Silicone sealant
Plumbing connectors and pipes
Adjustable wrench
Plumber’s tape
Utility knife
Measuring tape
Drill with a diamond drill bit
Screwdriver
Safety goggles
Follow these steps to prepare the granite countertop for the sink installation:
Clean the countertop: Begin by cleaning the countertop surface thoroughly using a mild soap and warm water. Remove any dirt, debris, or residue that may be present. Dry the surface completely with a clean cloth.
Measure and mark the sink placement: Take accurate measurements of the sink dimensions and mark the desired placement on the countertop using a pencil or masking tape. Consider any clearance requirements and ensure that the sink will fit properly within the designated area.
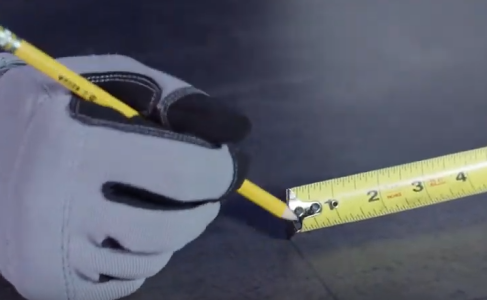
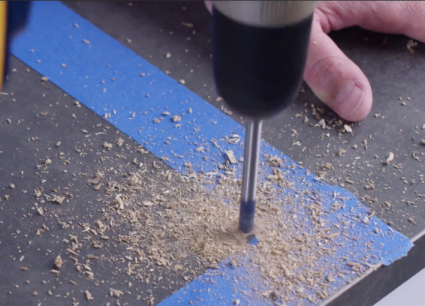
Create faucet holes (if needed): If your sink requires faucet holes, measure and mark their positions on the countertop. Use a measuring tape and a pencil to ensure accuracy. For drilling the holes, use a drill with a diamond drill bit suitable for granite. Take caution to follow the manufacturer’s guidelines for drilling into granite, and wear safety goggles for protection.
Remove any existing caulk or adhesive: If there is any old caulk or adhesive from a previous sink installation, use a utility knife to carefully remove it from the countertop. Ensure that the surface is smooth and free of any remnants before proceeding.
Once you have prepared the granite countertop, the next step in installing a top mount sink is attaching the sink mounting clips. These clips will secure the sink in place and provide stability. Follow these steps to attach the sink mounting clips:
1、Place the sink upside down: Carefully flip the sink upside down and position it on a soft surface to protect the surface finish.
2、Find the mounting holes: Locate the pre-drilled mounting holes on the underside of the sink. Most top mount sinks come with these holes already in place.

3、Insert the mounting clips: Take the sink mounting clips and insert them into the pre-drilled holes. Make sure to align them properly with the holes to ensure a secure fit.
4、Tighten the mounting clips: Use a screwdriver or an appropriate tool to tighten the mounting clips securely. Ensure that the clips are tightly secured to the sink, but be cautious not to overtighten and risk damaging the sink or the clips.
5、Repeat for all mounting holes: Repeat the process for all the remaining mounting holes, ensuring that each clip is properly inserted and tightened.
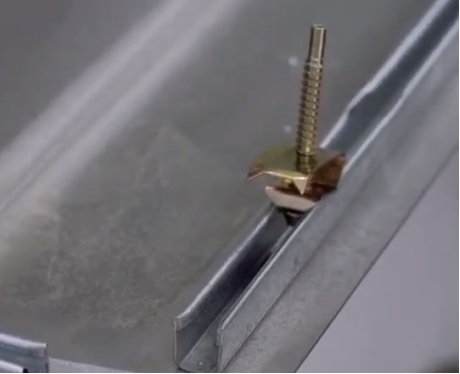
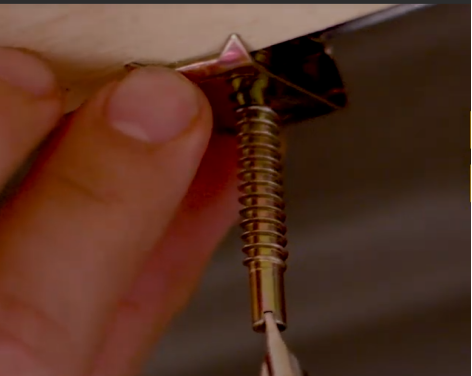
6、Apply silicone sealant to the sink rim: Starting at one corner of the sink rim, apply a bead of silicone sealant along the entire edge. Ensure that the sealant is evenly distributed and covers the entire rim.
7、Apply silicone sealant to the countertop: Apply another bead of silicone sealant along the inside edge of the sink cutout on the granite countertop. This will create a seal between the sink and the countertop surface.
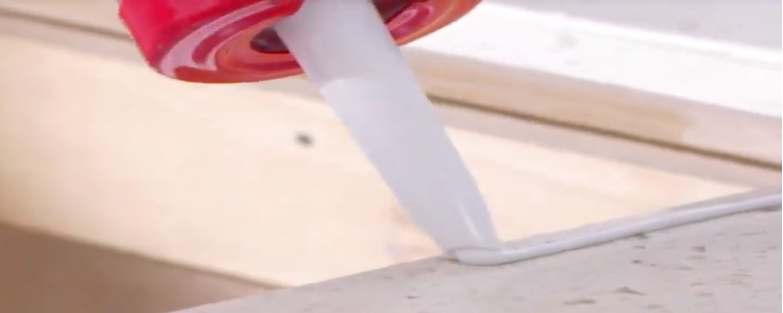
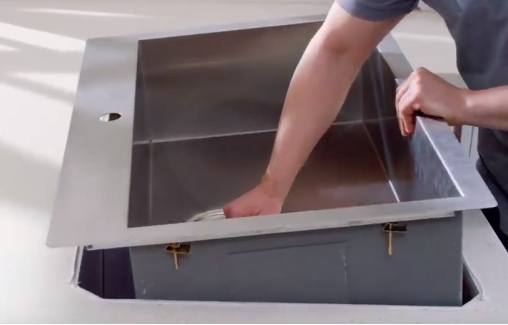
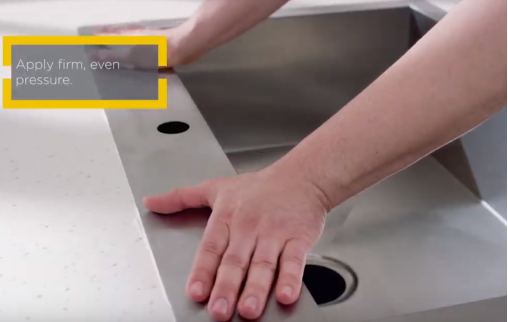
8、Seat the sink on the countertop: Carefully position the sink onto the countertop, aligning it with the sink cutout and the mounting clips. Press down gently to ensure that the sink is seated firmly on the countertop.
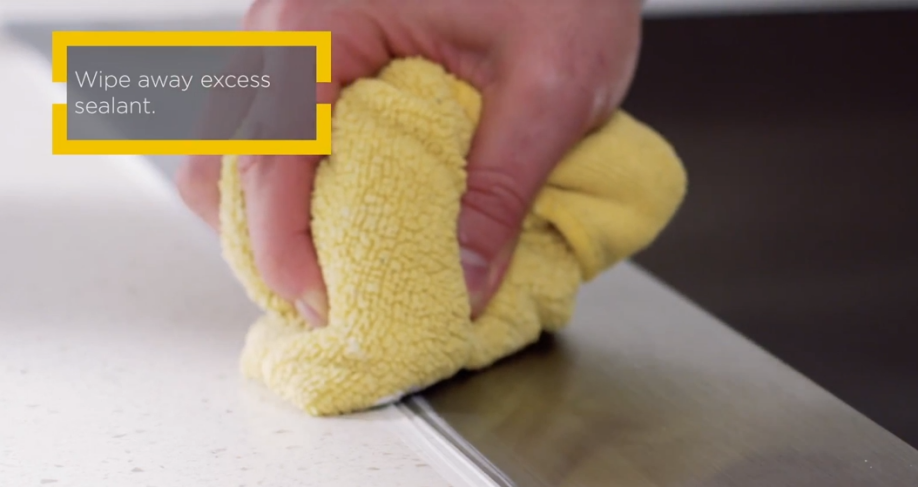
9、Wipe away excess sealant: Use a clean cloth or paper towel to wipe away any excess sealant that may have squeezed out from the edges. Be thorough in this step to ensure a neat and clean finish.
